As a supplier of Slip Lock Nozzles, I often get asked whether it's difficult to install these nozzles. In this blog post, I'll delve into the installation process of Slip Lock Nozzles, providing you with a comprehensive understanding of what's involved and how challenging it truly is.
Understanding the Slip Lock Nozzle
Before we discuss the installation, let's briefly introduce the Slip Lock Nozzle. A Slip Lock Nozzle is a type of Slip Lock Nozzle commonly used in various misting systems. It is designed to be part of low - pressure misting setups, which are popular for applications such as outdoor cooling, humidification, and dust suppression.
The Slip Lock Nozzle typically features a simple and efficient design. It is made to be easily attached to the misting system's tubing, allowing for a quick connection without the need for complex tools or excessive technical knowledge.
Components of the Slip Lock Nozzle Installation
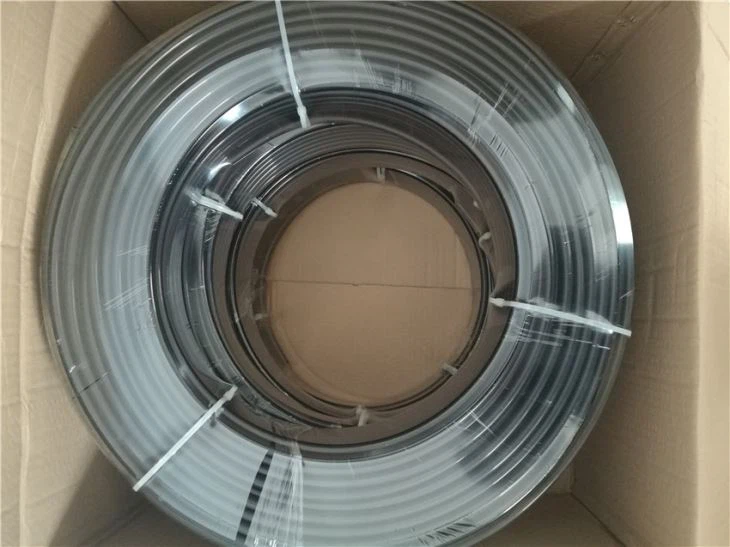
To install a Slip Lock Nozzle, you'll need to have a few key components on hand. These include the Slip Lock Nozzle itself, the appropriate misting tubing, and in some cases, a tubing cutter. The tubing should be of the correct diameter to fit the Slip Lock Nozzle properly.
The Slip Lock Nozzle is engineered to work with specific types of low - pressure misting systems. It is often made from high - quality materials such as stainless steel, which provides durability and resistance to corrosion. For those interested in a similar product, our Stainless Steel Fine Atomizing Nozzle is another excellent option in our product line.


Step - by - Step Installation Process
- Prepare the Tubing: First, you need to measure and cut the misting tubing to the appropriate length. Use a tubing cutter to ensure a clean and straight cut. This step is crucial as a jagged or uneven cut can prevent a proper seal between the nozzle and the tubing.
- Insert the Nozzle: Once the tubing is cut, gently insert the Slip Lock Nozzle into the end of the tubing. The Slip Lock mechanism is designed to provide a secure fit. You may need to apply a bit of pressure, but it should slide in relatively easily.
- Secure the Connection: After inserting the nozzle, make sure it is firmly seated in the tubing. The Slip Lock feature will hold the nozzle in place, preventing it from coming loose during operation. You can give it a gentle tug to confirm that it is securely attached.
- Check for Leaks: Once the nozzle is installed, turn on the misting system and check for any leaks around the connection. If you notice any leaks, you may need to re - insert the nozzle or check if there are any obstructions in the tubing.
Factors Affecting Installation Difficulty
While the installation process of Slip Lock Nozzles is generally straightforward, there are a few factors that can make it more challenging.
- Tubing Material: Different types of tubing materials have different levels of flexibility and hardness. Some materials may be more difficult to work with, especially if they are too rigid or too soft. For example, if the tubing is too rigid, it may be harder to insert the nozzle, while overly soft tubing may not provide a secure fit.
- System Complexity: If you are installing multiple Slip Lock Nozzles in a large - scale misting system, the process can become more complicated. You need to ensure that each nozzle is properly spaced and connected to avoid issues such as uneven mist distribution.
- Technical Knowledge: Although the installation of Slip Lock Nozzles is relatively simple, having some basic knowledge of misting systems can be helpful. Understanding how the system works, including the water pressure and flow rate, can ensure a more successful installation.
Comparison with Other Nozzle Types
When compared to other types of nozzles, such as those that require threading or welding, the Slip Lock Nozzle offers a significant advantage in terms of ease of installation. For example, Low Pressure Misting Nozzle that use threading often require the use of tools such as wrenches to tighten the connection. This can be time - consuming and may require more technical skill.
On the other hand, Slip Lock Nozzles can be installed without the need for any special tools. This makes them a popular choice for DIY enthusiasts and those who want to quickly set up a misting system without the hassle of complex installation procedures.
Tips for a Successful Installation
- Read the Instructions: Before starting the installation, carefully read the manufacturer's instructions. These instructions will provide you with specific details about the installation process, including any special requirements or precautions.
- Use the Right Tools: Although Slip Lock Nozzles don't require many tools, having a good quality tubing cutter can make the installation process much easier. Make sure the cutter is sharp and can make a clean cut.
- Test the System: After installing the nozzles, test the misting system to ensure that everything is working properly. Check for any leaks, blockages, or uneven mist distribution.
Conclusion
In conclusion, installing a Slip Lock Nozzle is generally not difficult. With the right components, a basic understanding of the process, and a few simple tools, you can install these nozzles quickly and easily. While there are some factors that can make the installation more challenging, such as tubing material and system complexity, the overall process is straightforward.
If you are considering purchasing Slip Lock Nozzles for your misting system, we are here to assist you. Whether you have questions about installation, product specifications, or need advice on choosing the right nozzle for your application, our team of experts is ready to help. Contact us to start a procurement discussion and find the perfect Slip Lock Nozzles for your needs.
References
- Manufacturer's documentation for Slip Lock Nozzles
- Industry standards for low - pressure misting systems